
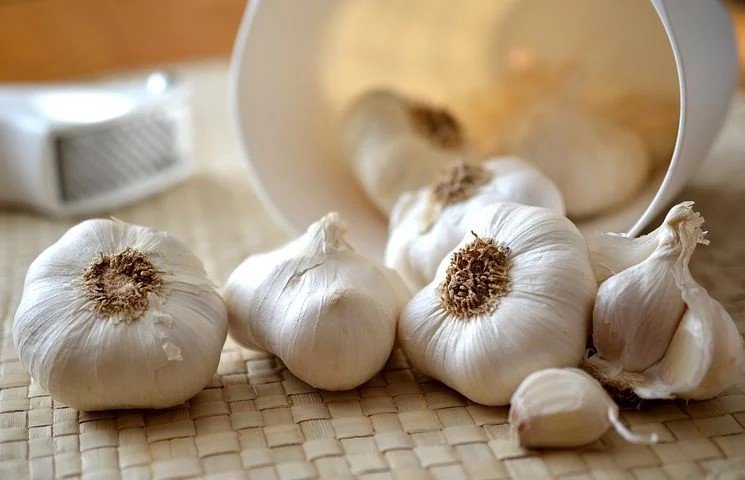
Growing garlic at home is simple but involves some crucial activities. Read this complete guide on how to plant garlic with all the planning involved to harvest a good crop of garlic.
Planting garlic at home requires planning and specialized processes to successfully grow the plant.
Step by step guide for Planting Garlic in your Garden
Growing garlic has many advantages as garlic has become an important vegetable in our daily lives. Let us help you to organize the task list on how to grow garlic.
It involves several steps including preparation, garlic selection, planting, caring, and harvesting.
Step 1 – Preparation
This is the first step of the garlic growing process. You will have to plan this well based on the most crucial factors. Start by answering a few questions.
- What type of garlic should I grow? Zero in on the Garlic variant.
- What are the weather requirements? The season you would want to grow is the garlic.
- What soil type do I have? What nutrients/fertilizer I would need to add on.
- Where should I plant garlic? Best location in your home/garden.
– Choose the right Garlic variant
The garlic variant that you should plant depends on your requirements. If you are expecting to harvest garlic scapes (green garlic stems), hard neck garlic should be grown. If you are growing garlic primarily for the garlic bulbs and will want to store them, soft neck garlic is the best option.
– When to Plant Garlic?
Most types of garlic are primarily a fall to winter crop and they should be planted in the fall before winter. The reason for this is that in winter the ground will freeze. Between fall and winter roots are expected to develop. These roots will help the plant to survive a dormant period during winter.
Planting in winter leaves rootless plants vulnerable to death but planting the garlic before spring will lead to the excessive shooting. These shoots are unlikely to survive the winter frost and snow.
– Soil and nutrient needs
Soil is the natural medium for growing any plant and will be the nutrient source for the garlic plant. Providing the right soil type will positively influence the growth of the plant. Garlic demands porous soil that drains well. Soils that retain water can cause water-logging that can lead to rotting.
Consequently, avoid clay-based soils as they tend to create water flooding due to poor drainage. If you want well-developed garlic bulbs, adding a fertilizer or nutrient supplement is advised.
You should perform a soil nutrient test prior to planting. Some fertilizer options include NPK fertilizer, blood meal, or compost made from degraded vegetable scraps.
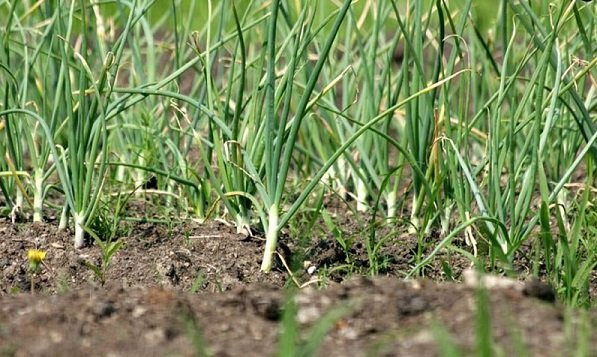
– Location
You should know garlic is a sun-loving crop. Most importantly, sunlight is an essential factor in assuring optimal growth. In short, the majority of the day must yield direct sunlight, the plant will tolerate short periods of shade.
Areas under heavy rainfall, flooding, high heat, and humidity are unfavorable to the growth of Garlic.
Why Garlic Turns Green or Blue? Is It Safe or Risky to eat? (Solved & Explained)
Step 2 – Preparing the Soil
After carrying out planning for your garlic planting, you are now ready to make sure that your soil is appropriate and ready. Conduct a soil test to check the nutrient amounts and the soil composition. If they are suitable, you can proceed to prepare the soil.
– Tilling
Tilling of the soil is turning and stirring the soil in preparation for planting garlic. This action can help to aerate the soil and is great to remove weeds.
You should control weeds so that they do not rob nutrients from the soil as these are the nutrients that the garlic plant uses for its growth. Opting for tilled soil is a way of digging through the hard soil when planting your garlic cloves.
– Moisture
Dry soil is not good for garlic growth. The soil must be moist enough to stimulate root growth and sprouting.
You can ensure the moisture requirements are met by adding water to the soil. As a result, the soil should be damp but a layer of water should not form above the soil to avoid water clogging. Be diligent in watering the soil as it can evaporate rapidly with sunlight.
– Manure
You might want to supply nutrients throughout the garlic growing phase. Mix a decent amount of natural compost into the soil. Garlic needs are basic and it does not have exotic nutrient requirements.
Adding this compost later after planting will not have the same effects and can lead to different results.
Step 3 – Selecting the Right Garlic Cloves
A single garlic clove can be used to propagate a complete garlic plant therefore, it makes the most sense to use these instead of slow-growing seeds. Use fresh garlic cloves and even the store-bought garlic will serve the purpose. Though, garlic from a farm or local market would do even better.
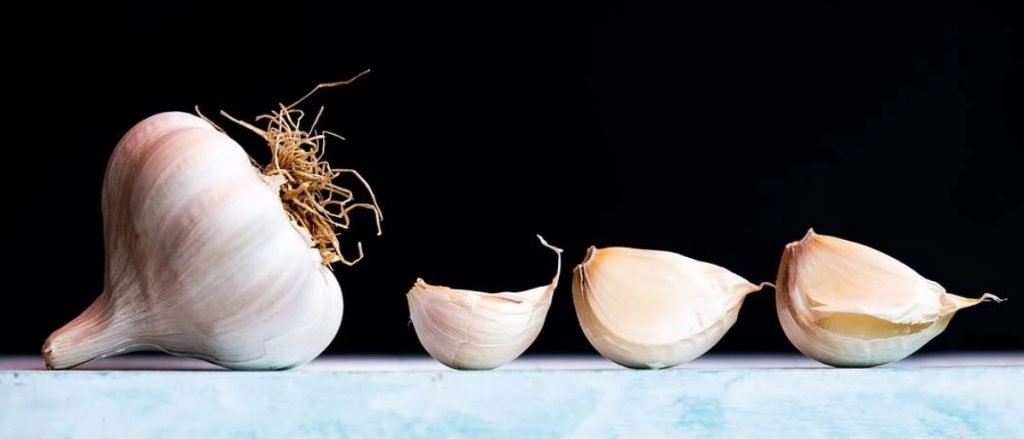
While choosing garlic, make sure your selections are the largest and healthiest that you can find. Do not use garlic with genetic modifications and prefer to use organic garlic. Also, stay away from garlic cloves that have become soft, this is a sign of decay.
Sprouted garlic cloves
Garlic that has a green shoot just emerging from the top is a garlic sprout. You can prefer choosing this germinating garlic to grow your garlic crop. The sprout gives the garlic clove a head start!
Buying garlic online
A number of farms across America offer garlic heads for growing purposes. This is a great way to get different garlic variants for planting. Based on garlic type, you may require a larger or smaller quantity.
This is because some garlic comes with a greater number of cloves (up to 20) while some come with a lesser number of cloves (up to 8) on the garlic head. An added benefit is that these bought garlic heads often come with specified growing instructions.
Step 4 – Planting the Garlic
Once you have your favorite type of garlic to grow, you can start by breaking off the individual cloves and planting them. However, be careful and do this delicately so that the base does not suffer any damage. If this is damaged, the clove will not grow.
Planting only the largest cloves will ensure large harvests and efficient use of space. This is simply because small cloves yield low outputs.
Steps to plant garlic
The garlic planting process involves the following steps which are quite simple as most of the work done is to prepare the site of planting.
- With a pointed side up, push the garlic clove into the soil at a depth of 2 inches (5cm).
- Space each clove at 8 inches (20cm) to allow enough space for maximum growth.
- Put a layer of mulch over the cloves. This will help to protect against the cold and frost. You can use leaves or hay.
- Add a layer of fertilizer to give additional garlic growth. Planting garlic in the fall also requires fertilizer application during the spring.
Step 5 – Caring for Garlic
After planting the garlic, you would need to take care of the plants and make sure that they are growing healthy. Diseased and troubled plants will not yield a good garlic harvest.
– Watering
Lack of water can lead to shriveled-up garlic. To stop this from happening, you must water the garlic plants when it is required. You can water them till the soil is just moist but be careful not to flood. The moist soil in the initial months will help to develop the root system.
In the case of garlic, moist soil compared to wet soil is best.
Towards the end of the growth period, you should reduce watering the garlic plants. This is because the garlic bulbs mature under hot and dry summer conditions.
– Pest control
Unfortunately, various pests tend to pick garlic as their host. Attacks and infestations by various insects and pests can ruin your entire garlic crop. Let us look at a few pests below.
Mice- Mice could be hiding in the mulch and could make a negative impact on thriving garlic plants. You can avoid this by opting for some artificial mulch materials (plastic mulch/fabric).
Aphids- Aphids attack young garlic leaves or garlic flower buds. You can use pesticides or neem oil. Some natural aphids predators include ladybugs and birds.
White rot- This is the most common garlic disease. It initially reveals itself as a white fluffy fungal growth on the bulb, it later forms black spots along the stem. Plants with this disease should be immediately removed to avoid damaging the entire crop of garlic.
Step 6 – Harvesting and Storage
Once summer approaches, you are close to reaping the rewards of your hard work.
– Harvesting Scapes
Many people are unaware of the fact that even Garlic scapes are edible and not just the garlic bulb.
The flowering shoots above ground are called scapes that can be used to garnish just the same way as spring onions. These shoots can be harvested as soon as they are healthy (around 7 inches long).
You might want to pluck a few of the shoots as they tend to steal nutrients away from the garlic bulb. Be warned excessive scape harvesting could also damage the garlic bulb.
– Harvesting garlic bulbs
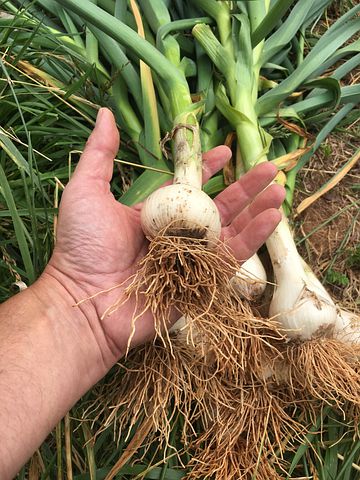
Harvesting garlic at the right time depends on your ability to read the “signs”.
Your garlic will be ready to harvest when leaves begin to turn yellow or brown. These dry leaves are a sign to harvest. Leaving the garlic in the ground longer may lead to the shattering of the garlic bulb.
Use a pitchfork to loosen the ground around the garlic before you harvest them, do this gently so that you do not damage the garlic bulb.
Once harvested, you should not wash them but rather cure them by hanging them in a room of 27℃ for two weeks. If the stems allow, you can braid the garlic and hang it up to dry and cure.
We hope this garlic growing guide would help you to get your best harvest of garlic.
